Looking for Portraits?
enp anniversary, maternity, and newborn portrait offerings coming soon
Join the Waitlist

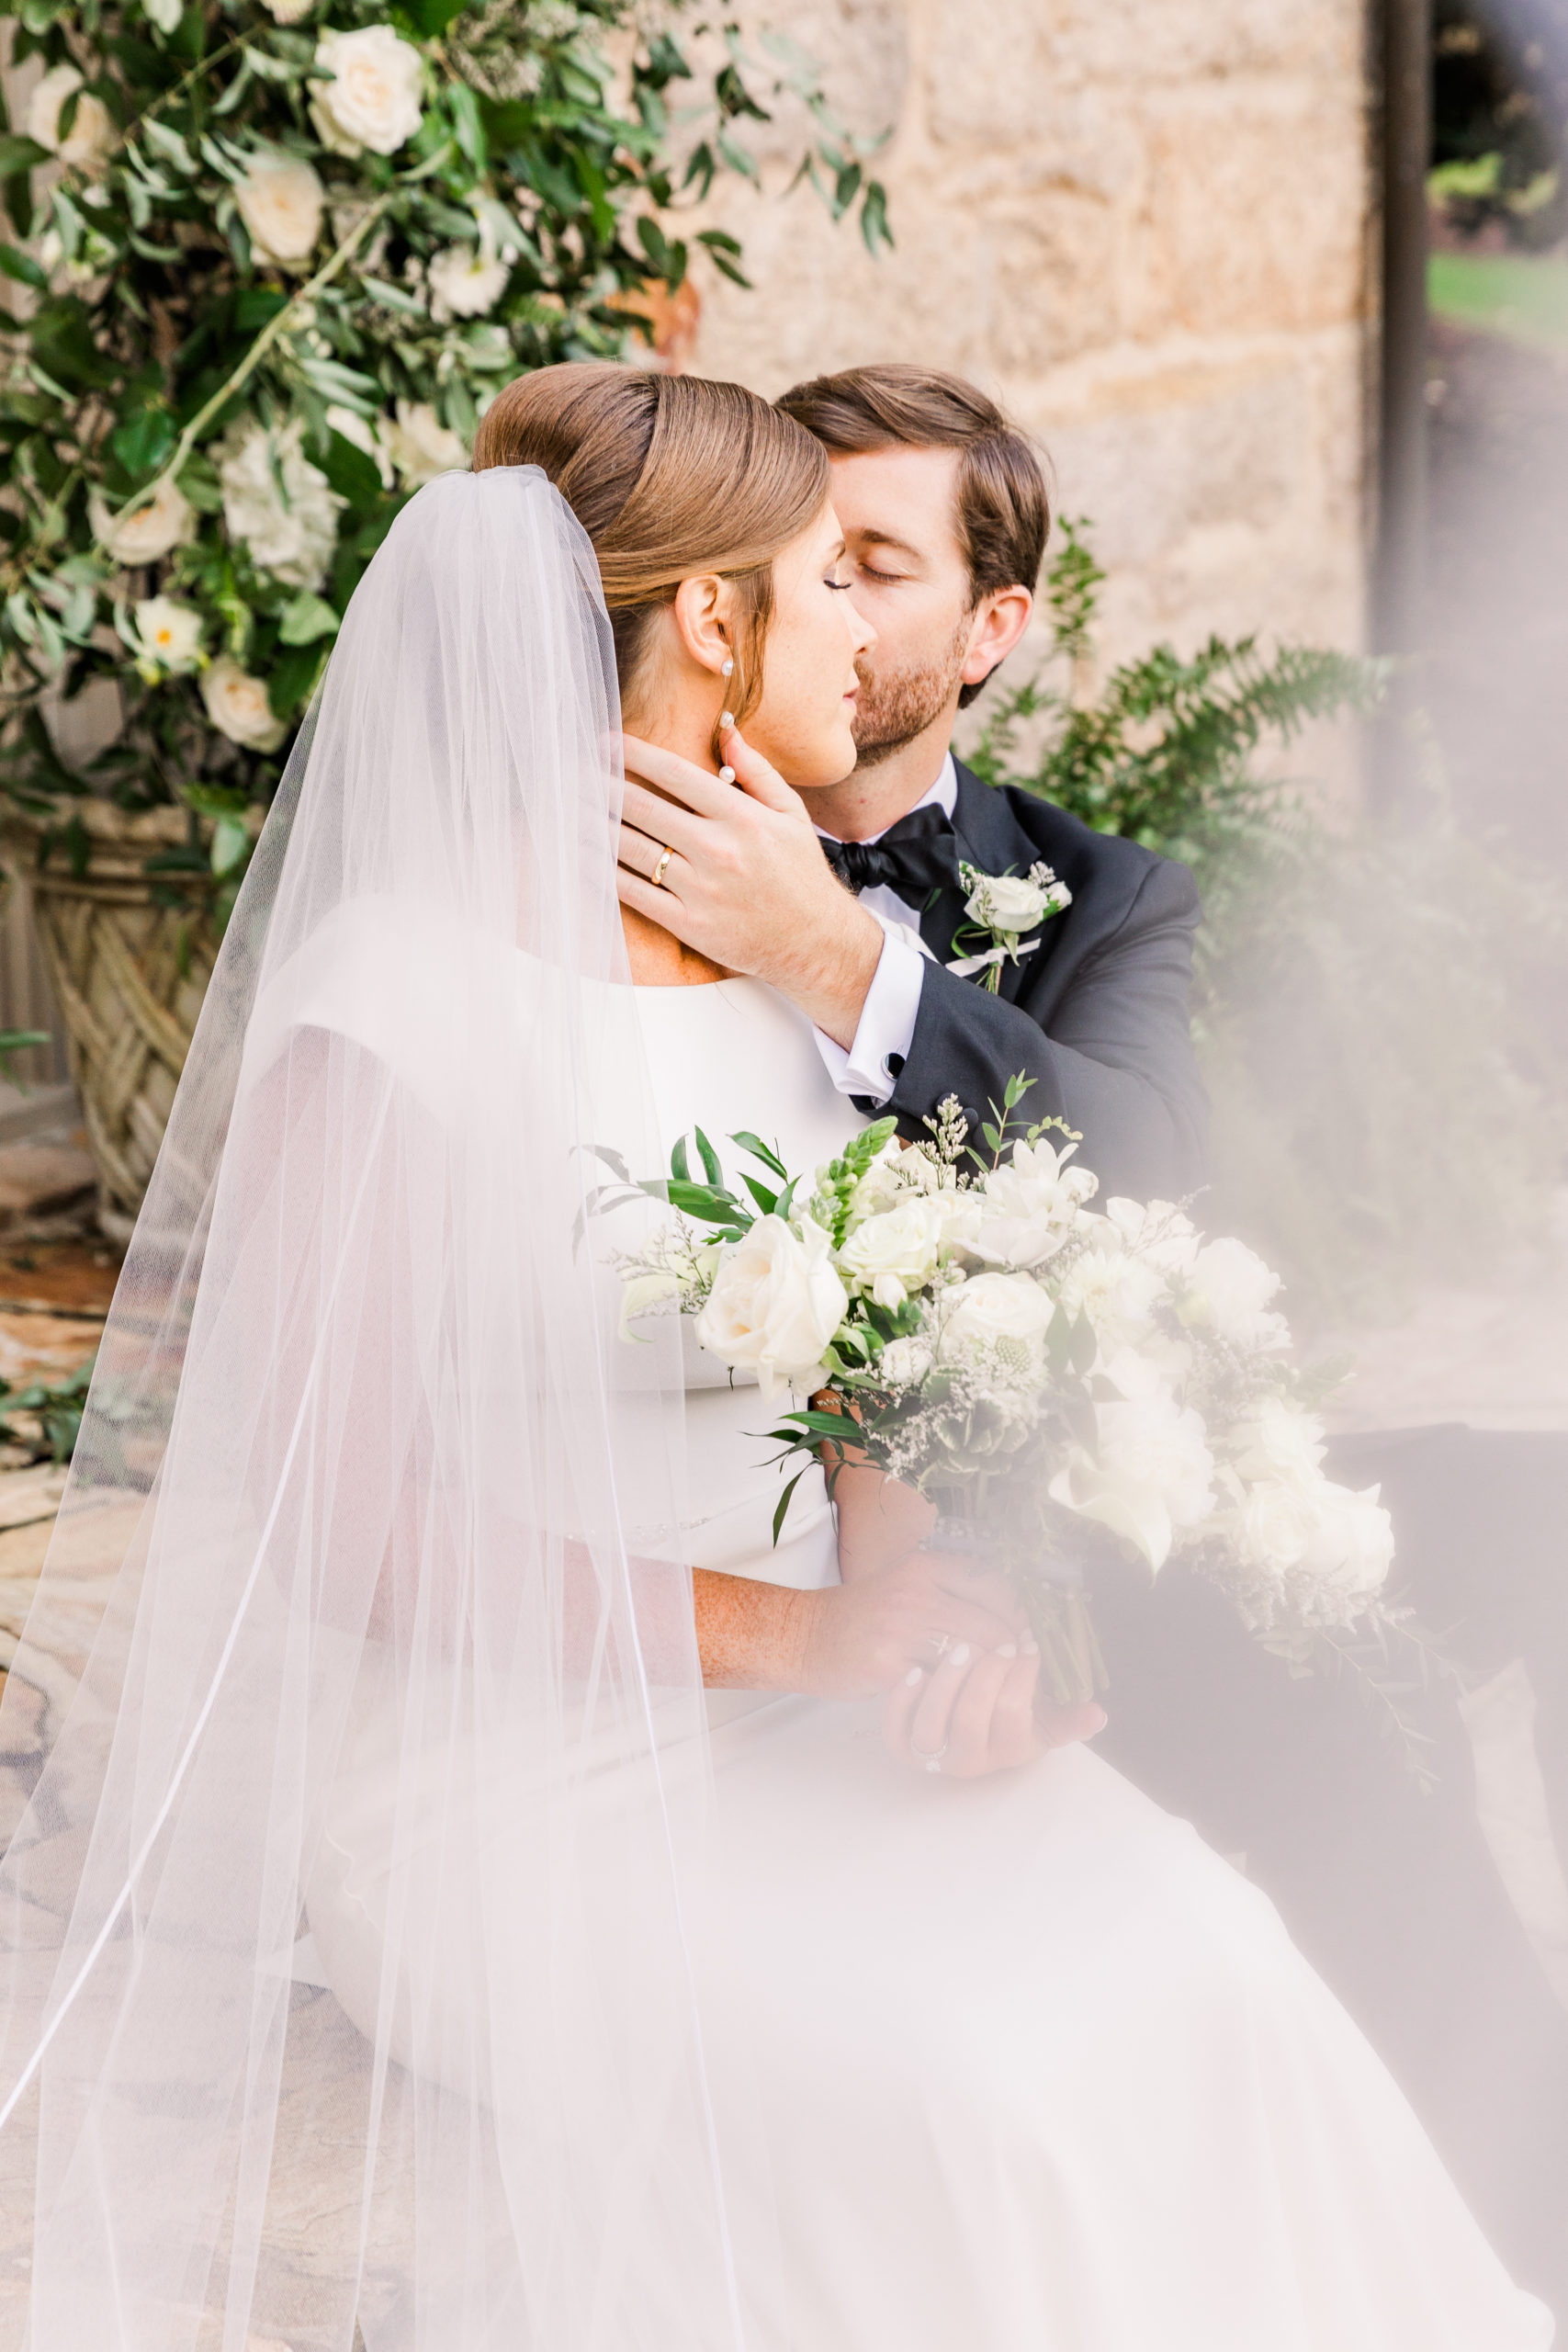
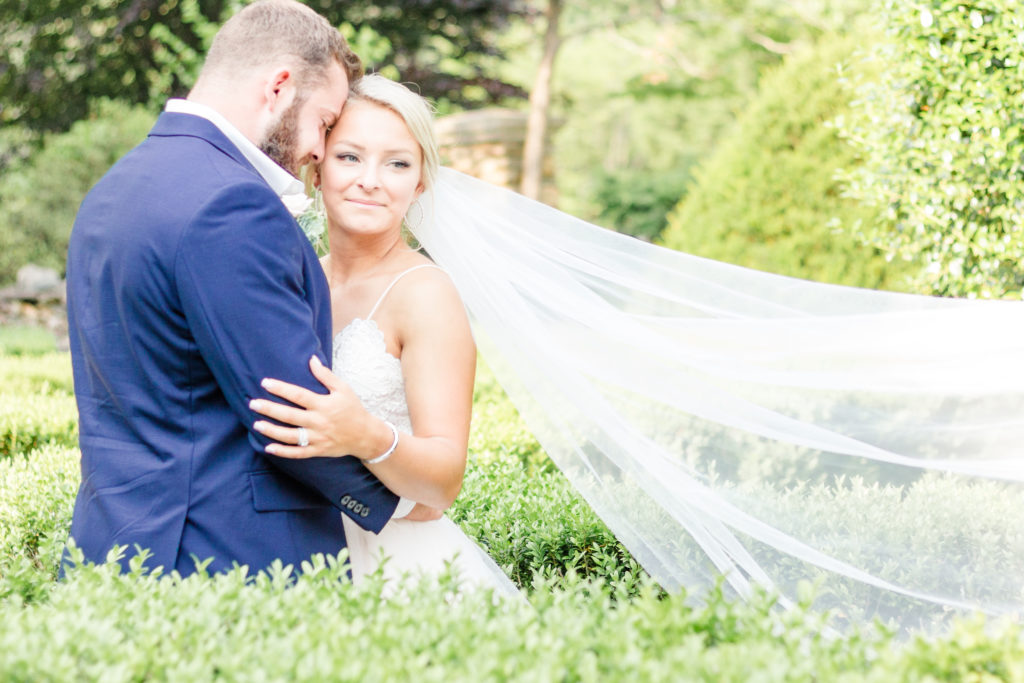
I don’t know about you… But if there’s only one bride & groom portrait I could take on a wedding day, it’s the flowy veil shot!
Believe it or not, there is a little bit of strategy to get that perfect wind-blown look with your veil. There are a few rules / techniques I follow to make these images look natural and magical all at once.
1. I hold the wedding veil in my non-shooting hand.
To get shots like the one below, all I have to do is use your wedding veil to get foreground. That’s what creates that whimsical, soft white corner of the image. But there’s actually a compositional purpose for that flow of veil in the foreground of an image! By holding your veil just right, I create a line of composition. Composition is what trains the eye to flow from one side of the image right to the main subject – you! So it’s extra important to get this in the right position to have that WOW factor.
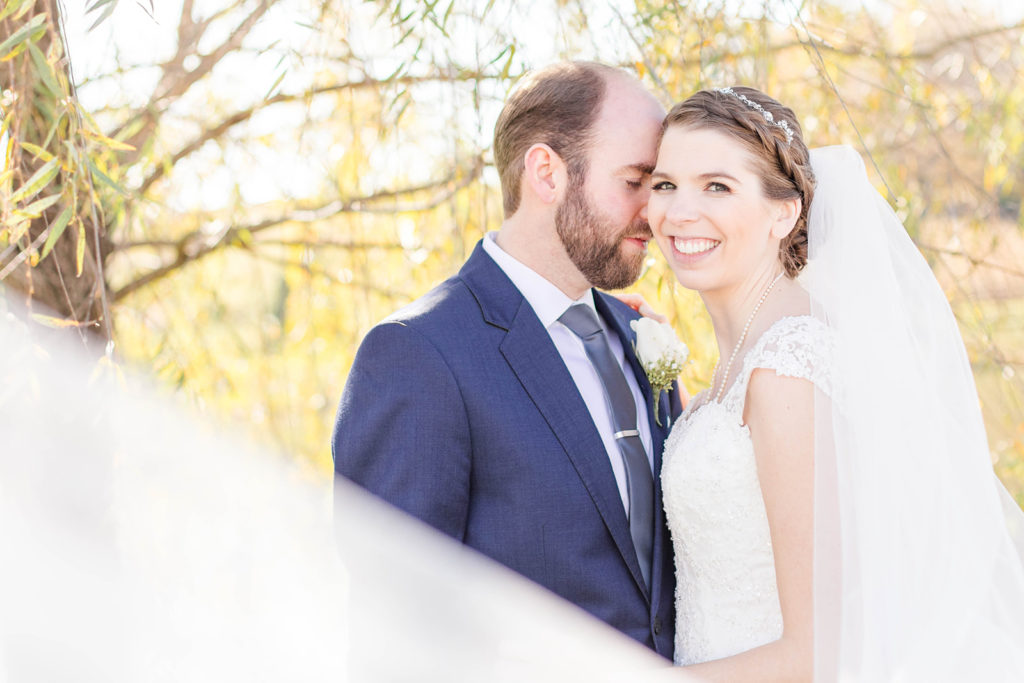
2. Get a little help from friends.
This year I was so excited to add a second shooter to my wedding package. One day I’ll do a blog post on why I prioritized adding that into your wedding experience. But one super helpful thing a second shooter does is toss your veil.
By having my second hold the end of your veil high then drop it on three, I get a natural wind-blown look without any sign of human interference. It looks like I took the shot at some lucky moment of God-sent wind for that regal look. If you are reading this and you’re a photographer who shoots alone, don’t worry. You can also achieve this look without a second shooter. All you need is a little help from the groom or a bridal party member.
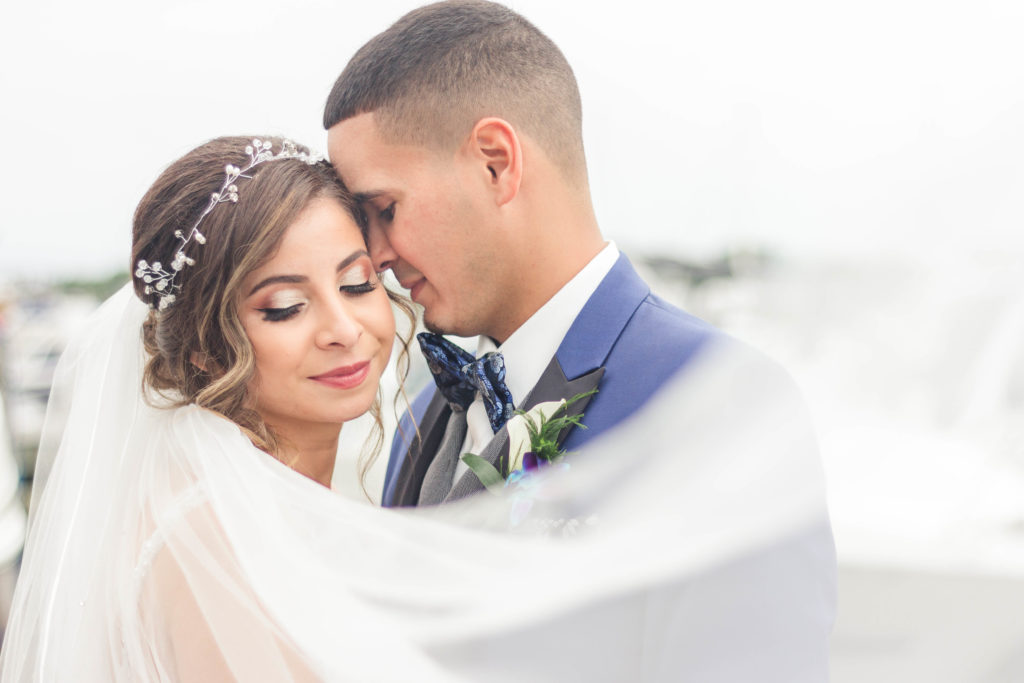
3. Outdoor veil shots make the most sense.
I am a firm believer that, whenever possible, all veil shots should be taken in an outdoor setting. I prefer my style to always reflect the natural – natural colors, light, moments, posing, and yes, even veil flow.
Wind doesn’t blow inside, so a dramatic veil shot taken indoors takes that subtle magic out of it. I want most images to hide any amount of work or technique taken by the photographer to achieve them. If I see an indoor veil shot, I tend to wonder who or what was responsible. But when outdoors, it’s almost as though the effect makes enough sense to avoid wondering what the technique was.
That said, I know not all weddings are blessed with sunshine and light breezes. On rainy wedding days, I’ll find a covered porch area with outdoor views in the background to get that “must-have” shot! All it takes is a little creativity.
4. Weight matters.
Different types of veils fly differently. The weight of your bridal veil will highly determine how it flows and falls. For example, beaded wedding veils it will drop a lot faster and more uniformly. Lace adorned veils will flow more, but still add weight to the edges. Plain, sheer veils will drop the slowest, maybe even catching the natural wind as it falls for a wavier look.
Also, layers and fabric types add a lot more weight than you might think. For the wind-swept veil shot, opt for a single layer veil. As far as fabric goes, fine tulle will fly much more naturally than stiff tulle. Think sheer curtain vs. ballerina tutu as a comparison when you go shopping.
If you’re opting for a more dramatic veil shot, think about the weight of your veil as you shop. If that’s not high on your priority list, you have much more leeway with the detail.
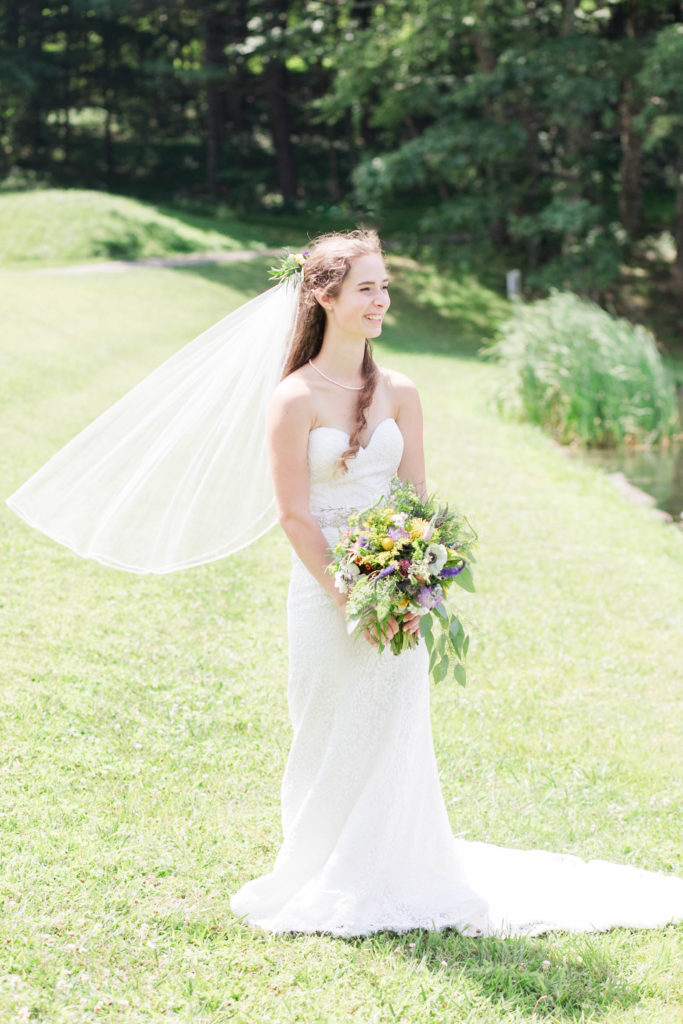
5. Length matters.
The last thing to think about when you’re choosing your wedding veil is the length. Nowadays, veils come in variety of lengths & styles, so it’s easy to get overwhelmed by wondering how well they photograph.
I found an amazing guide to all things veils to help educate you all on the different styles and lengths. But the best rule of thumb is that the longer the veil, the more dramatic the veil shot.
My “Fly Zone” typically includes veils from fingertip length (reaches all the way down to the tip of your fingers when your arms and shoulders are relaxed) to cathedral length (the veils that drag behind your dress train).
Before I became a wedding photographer, I had no idea how many types of veils were out there and how they changed the effect in an image. To sum it up, there is no “right” or “wrong” wedding veil to choose. Your preference and style should always be the first factor you consider. But by thinking ahead to your final gallery, in every aspect of the wedding planning process, you can save yourself from different expectations than the final product and fall all the more in love with your images.
If you ever have any questions about how that wedding veil you have your eye on will photograph on the wedding day, feel free to contact me using my “General” contact form or e-mail me directly at emilynicoles10@gmail.com with a link to the veils your considering. I would be more than happy to help you out and show you how well your dream veil will fly!
Happy planning!!
Xx Emily
The flowers will fade and guests will forget what your dress looked like... but you'll remember every emotion-filled moment for a lifetime when you choose our team to create effortless, intimate and artful wedding photos.
Let us preserve your memories.


Inquire Now


